

As a supplier of Epoxy Pour Tables, I've had the privilege of witnessing the growing popularity of these stunning pieces in both residential and commercial settings. An Epoxy Pour Table is not just a functional piece of furniture; it's a work of art that can transform any space. One of the most crucial steps in creating a perfect Epoxy Pour Table is accurate measurement. In this blog post, I'll share the best way to measure for an Epoxy Pour Table, ensuring that your project turns out exactly as you envision.
Understanding the Basics of Epoxy Pour Tables
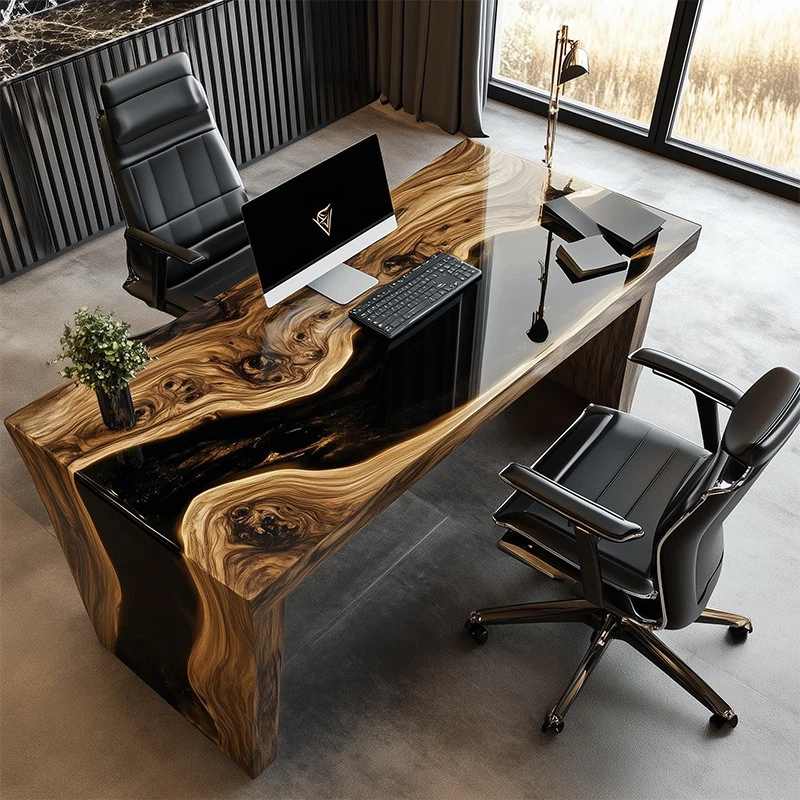
Before we dive into the measurement process, let's briefly understand what an Epoxy Pour Table is. An Epoxy Pour Table is typically made by pouring epoxy resin over a base surface, such as wood, stone, or metal. The epoxy resin creates a smooth, glossy finish that enhances the natural beauty of the base material and provides a durable, long - lasting surface.

Epoxy Pour Tables come in various styles and designs, from the classic Liquid Glass Epoxy Pour Table with its clear, glass - like appearance to the Luxury Stone Table and Crystal Stone Table that combine the elegance of stone with the unique properties of epoxy.
Tools Required for Measuring
To accurately measure for an Epoxy Pour Table, you'll need the following tools:

- Tape Measure: A reliable tape measure is essential. Make sure it's long enough to measure the entire length and width of the table. A 25 - foot or 30 - foot tape measure is usually sufficient.
- Square: A carpenter's square helps ensure that the corners of the table are perfectly right - angled. This is crucial for a professional - looking finish.
- Pencil and Paper: You'll need to record your measurements accurately, so keep a pencil and paper handy.
Measuring the Length and Width
The first step in measuring for an Epoxy Pour Table is to determine the length and width of the tabletop. Start by measuring the longest part of the tabletop from one end to the other. This is the length. Make sure to measure in a straight line, following the outer edges of the table.
Next, measure the width of the tabletop at its widest point. Measure perpendicular to the length. It's important to measure at several points along the width, especially if the tabletop is not perfectly rectangular, to account for any irregularities.
Record these measurements on your paper. It's a good idea to measure twice to ensure accuracy. When recording the measurements, be as precise as possible, noting the measurement in inches or centimeters, depending on your preference.
Measuring the Thickness
The thickness of the tabletop is another important measurement. Use your tape measure to measure the distance from the top surface of the table to the bottom. Measure at several points across the tabletop, especially if the table has a non - uniform thickness. This is common in tables made from natural materials like wood, which may have slight variations in thickness.
The thickness measurement is crucial because it will determine the amount of epoxy resin you'll need. A thicker tabletop will require more resin to achieve the desired depth of the epoxy pour.
Accounting for Overhang
If you plan to have an overhang on your Epoxy Pour Table, you'll need to factor this into your measurements. An overhang is the part of the tabletop that extends beyond the base or legs of the table. It can add a stylish and functional element to the table.
To measure for an overhang, decide how much you want the tabletop to extend on each side. For example, if you want a 4 - inch overhang on all sides, add 8 inches to both the length and width measurements you previously took. This will give you the dimensions of the tabletop including the overhang.
Measuring for Inlays or Inserts
Some Epoxy Pour Tables feature inlays or inserts, such as pieces of wood, stone, or metal. If your table design includes these elements, you'll need to measure them accurately as well.
For inlays, measure the length, width, and depth of the area where the inlay will be placed. Make sure to account for any gaps or seams between the inlay and the surrounding tabletop. This will ensure a perfect fit and a seamless appearance.
Calculating the Volume of Epoxy Resin
Once you have all your measurements, you can calculate the volume of epoxy resin needed for your Epoxy Pour Table. The volume of a rectangular tabletop can be calculated using the formula: Volume = Length x Width x Thickness.

For example, if your tabletop has a length of 72 inches, a width of 36 inches, and a thickness of 1.5 inches, the volume would be 72 x 36 x 1.5 = 3888 cubic inches.
However, it's important to note that you'll need to account for the fact that epoxy resin expands slightly when it cures. It's recommended to add an extra 10 - 15% to your calculated volume to ensure you have enough resin for the pour.
Considering the Shape of the Table
Not all Epoxy Pour Tables are rectangular. If your table has a different shape, such as a round, oval, or irregular shape, the measurement process will be a bit more complex.
For round tables, measure the diameter (the distance across the table through the center). To calculate the area of a round table, use the formula: Area = π x (Radius)^2, where the radius is half of the diameter. Then, multiply the area by the thickness to get the volume.
For oval tables, measure the major axis (the longest diameter) and the minor axis (the shortest diameter). You can use an approximation formula to calculate the area, and then multiply by the thickness to find the volume.
For irregularly shaped tables, you may need to break the tabletop into smaller, regular shapes (such as rectangles and triangles), calculate the volume of each part, and then add them together.
Final Checks and Considerations
Before you start your Epoxy Pour Table project, it's a good idea to double - check all your measurements. Make sure you've accounted for all the elements of your table design, including overhangs, inlays, and any special features.
It's also important to consider the environment in which you'll be working. Epoxy resin cures best in a temperature - controlled environment, typically between 70 - 80°F (21 - 27°C). Make sure your workspace meets these conditions to ensure a successful pour.
Conclusion
Accurate measurement is the key to creating a beautiful and functional Epoxy Pour Table. By following the steps outlined in this blog post, you can ensure that your table turns out exactly as you envision. Whether you're creating a Liquid Glass Epoxy Pour Table, a Luxury Stone Table, or a Crystal Stone Table, precise measurements will help you achieve a professional - looking finish.
If you're interested in purchasing materials for your Epoxy Pour Table project or have any questions about our products, we'd love to hear from you. Contact us to start a conversation about your specific needs and let's work together to bring your dream table to life.
References
- Epoxy Resin Handbook: A Comprehensive Guide to Working with Epoxy Resin
- Woodworking Magazine: Tips and Tricks for Measuring and Building Furniture
- Stone Fabrication Manual: Techniques for Measuring and Cutting Stone Surfaces