

How to Install a Bookshelf Partition on a Wooden Floor
Installing a bookshelf partition on a wooden floor can be a great way to add functionality and style to your space. As a bookshelf partition supplier, we understand the importance of a proper installation process. In this blog post, we'll guide you through the steps of installing a bookshelf partition on a wooden floor, ensuring a seamless and secure setup.
Step 1: Preparation
Before you start the installation, it's crucial to prepare the area and gather all the necessary tools and materials. First, measure the space where you plan to install the bookshelf partition. This will help you ensure that the partition fits perfectly and aligns with your vision for the room.
Next, gather the tools you'll need, including a drill, screws, a level, a measuring tape, a pencil, and a hammer. It's also a good idea to have someone assist you during the installation process, especially when dealing with larger partitions.

When it comes to the bookshelf partition itself, we recommend our Rose Gold Metal Frame Bookshelf. This contemporary and stylish option not only adds a touch of elegance to your space but also provides sturdy support.
Step 2: Floor Protection
Wooden floors are prone to scratches and damage, so it's essential to protect them during the installation. You can use cardboard or drop cloths to cover the area where you'll be working. This will prevent any accidental scratches or dents that could occur if tools or the partition come into contact with the floor.
Step 3: Assembly of the Bookshelf Partition
Before installing the partition on the floor, it's usually necessary to assemble it according to the manufacturer's instructions. Our free standing Bookshelf Partition comes with easy - to - follow assembly guides. Take your time to assemble all the components correctly, ensuring that all the parts fit snugly together. Using the wrong assembly method can lead to a weak structure, so it's crucial to follow the provided directions precisely.
Step 4: Marking the Installation Points
Once the bookshelf partition is assembled, you need to mark the points on the wooden floor where the partition will be installed. Place the partition in the desired location and use a pencil to mark the spots where the screws will go. It's important to use a level to ensure that the partition is straight and plumb. This will not only make the installation look better but also prevent the partition from leaning over time.
Step 5: Drilling Pilot Holes
Before driving the screws into the wooden floor, it's recommended to drill pilot holes. Pilot holes make it easier to insert the screws and reduce the risk of splitting the wood. Use a drill bit that is slightly smaller in diameter than the screws you'll be using. Carefully drill the holes at the marked points on the floor, being mindful not to drill too deep, as this could damage the sub - floor.
Step 6: Securing the Partition
After drilling the pilot holes, it's time to secure the bookshelf partition to the wooden floor. Align the partition with the pilot holes and insert the screws. Use a screwdriver or a drill to tighten the screws firmly. Make sure that the partition is securely attached to the floor, but be careful not to overtighten the screws, as this could also damage the wood.
Step 7: Final Checks
Once the partition is secured to the floor, do a final check to ensure that everything is in place. Use the level again to double - check that the partition is straight. Check all the connections and joints to make sure they are tight and stable. You can also give the partition a gentle shake to test its stability.
Step 8: Considerations for Different Types of Wooden Floors
If you have a solid wood floor, the installation process is generally straightforward. However, if you have a laminate or engineered wood floor, you need to take extra precautions. Laminate floors are often floating floors, which means they are not attached to the sub - floor. In this case, you may need to use alternative methods to secure the partition, such as using adhesive strips or brackets that attach to the wall rather than the floor. For engineered wood floors, follow the manufacturer's guidelines to avoid any potential damage.
Step 9: Adding Finishing Touches
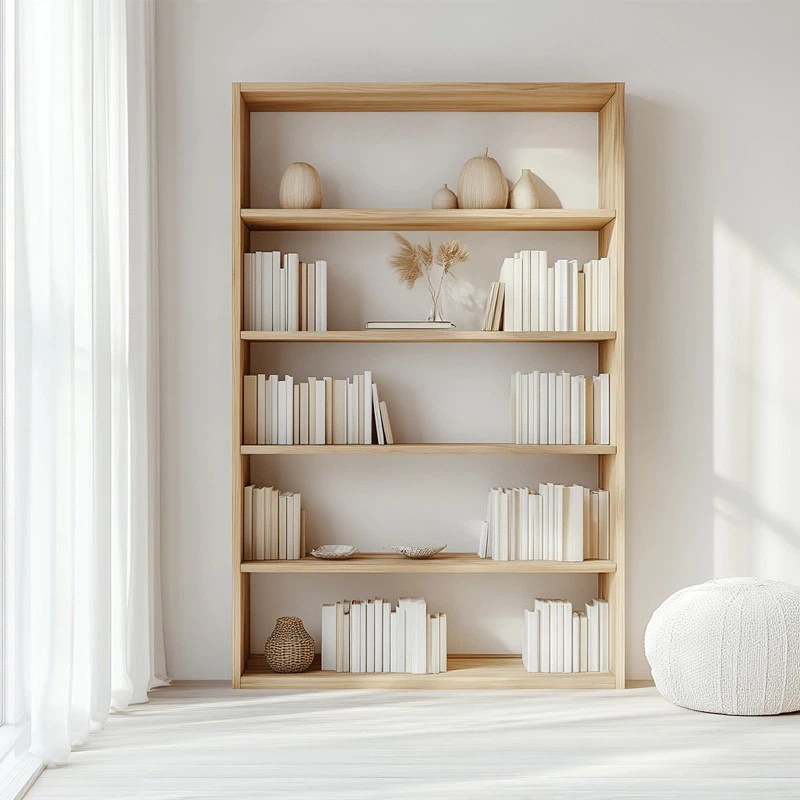
After the installation is complete, you can add some finishing touches to enhance the look of the bookshelf partition. You can decorate the shelves with books, plants, or decorative items. Our Small Solid Wood Book Case with Doors can also be used in combination with the partition to create a more comprehensive storage and display solution.
Contact Us for Your Bookshelf Partition Needs
If you're interested in purchasing a high - quality bookshelf partition for your wooden floor installation, we're here to help. Our extensive range of products offers various styles, materials, and sizes to suit your specific requirements. Whether you're looking for a modern metal frame partition or a classic solid wood design, we have the perfect solution for you.
We understand that every customer has unique needs, and we're committed to providing personalized service. Our team of experts can assist you in choosing the right partition for your space and offer advice on the installation process. To start your procurement process and discuss your specific needs, simply reach out to us. We look forward to working with you to transform your space with our top - notch bookshelf partitions.
References
- "Wood Flooring Installation Guide" by a well - known wood flooring manufacturer.
- "Furniture Assembly and Installation Handbook" from a reputable furniture resource.