


As a supplier of Epoxy Pour Tables, I'm often asked about the process of creating a wavy - edged Epoxy Pour Table. It's a captivating and rewarding project that combines artistry with craftsmanship. In this blog, I'll share the step - by - step process of making a wavy - edged Epoxy Pour Table.
Materials and Tools
Before we start, it's essential to gather all the necessary materials and tools. Here's a list of what you'll need:

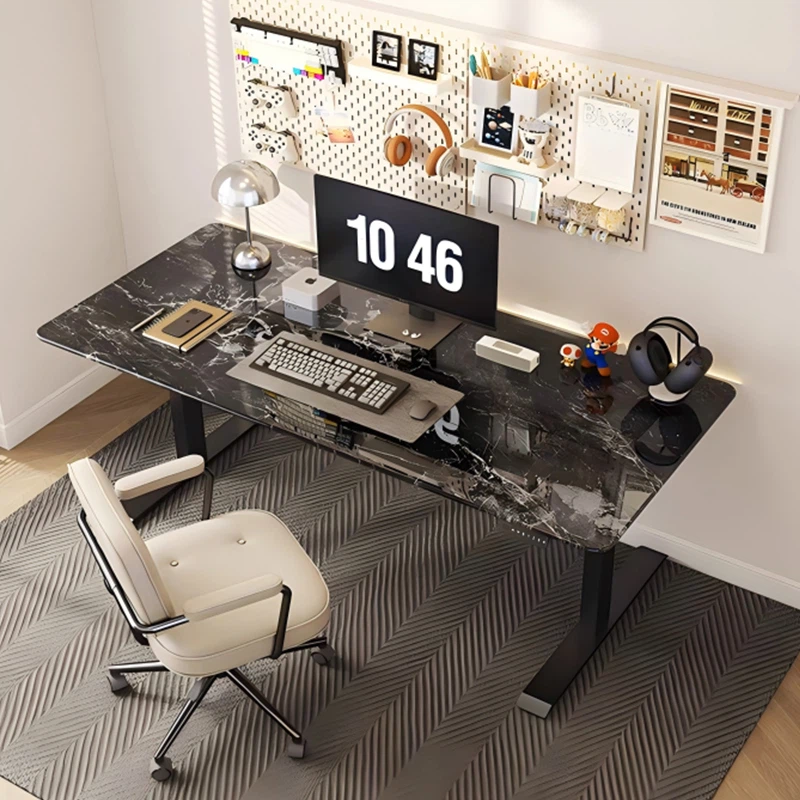
Materials:
- A solid wood base for the table. You can choose from various types of wood, such as oak, walnut, or maple. A Modern Stylish Solid Wood Round Dining Table can serve as a great inspiration for the base.
- Epoxy resin. I recommend using high - quality epoxy resin, like the one used in our Liquid Glass Epoxy Pour Table.
- Pigments or dyes for coloring the epoxy.
- Release agent.
- Sandpaper in various grits (80, 120, 220, 320).
- Wax or polish for finishing.
Tools:
- Measuring cups and mixing sticks.
- Heat gun or torch to remove air bubbles.
- Clamps.
- Jigsaw or bandsaw for cutting the wavy edge.
- Router for smoothing the edges.
- Safety equipment, including gloves, goggles, and a respirator.
Step 1: Design and Prepare the Wood Base
The first step is to design the shape of your table. Decide on the size and the wavy pattern for the edge. Sketch your design on a piece of paper and then transfer it to the wood base. You can use a pencil or a marking pen for this.
Once the design is transferred, use a jigsaw or bandsaw to cut along the wavy line. Be careful and take your time to ensure a smooth and accurate cut. After cutting, use a router to smooth the edges of the table. Start with a coarse - grit sandpaper (80 grit) and gradually move to finer grits (120, 220, 320) to achieve a smooth finish.
Step 2: Create the Mold
To create the wavy - edged shape for the epoxy, you'll need to make a mold. You can use a flexible material, such as silicone or plastic sheeting. Cut the material to fit the shape of the table's edge and secure it in place using clamps or tape. Make sure the mold is tightly sealed to prevent the epoxy from leaking.
Apply a release agent to the inside of the mold. This will make it easier to remove the epoxy from the mold once it has cured.
Step 3: Mix the Epoxy
Follow the manufacturer's instructions for mixing the epoxy resin and hardener. Use measuring cups to ensure the correct ratio of resin to hardener. Stir the mixture thoroughly for at least 3 - 5 minutes, making sure to scrape the sides and bottom of the container.
If you want to add color to the epoxy, add the pigments or dyes at this stage. Start with a small amount and gradually add more until you achieve the desired color. Stir the mixture well to ensure the color is evenly distributed.
Step 4: Pour the Epoxy
Slowly pour the mixed epoxy into the mold, starting from one end and working your way to the other. Try to pour the epoxy in a steady stream to avoid creating air bubbles. Use a heat gun or torch to remove any air bubbles that may have formed on the surface of the epoxy. Pass the heat gun or torch over the epoxy in a sweeping motion, being careful not to overheat the epoxy.
Let the epoxy cure according to the manufacturer's instructions. This usually takes 24 - 48 hours, depending on the type of epoxy and the temperature and humidity of the environment.
Step 5: Remove the Mold and Sand the Epoxy
Once the epoxy has cured, carefully remove the mold from the table. You may need to use a putty knife or a similar tool to gently pry the mold away from the epoxy.
After removing the mold, sand the epoxy surface using sandpaper. Start with a coarse - grit sandpaper (80 grit) and gradually move to finer grits (120, 220, 320) to achieve a smooth and polished finish. Be careful not to sand too aggressively, as this can damage the epoxy.
Step 6: Attach the Epoxy to the Wood Base
Apply a thin layer of epoxy adhesive to the back of the wavy - edged epoxy piece and the corresponding area on the wood base. Press the epoxy firmly onto the wood base and use clamps to hold it in place while the adhesive cures.
Let the adhesive cure for the recommended time, usually 24 hours. After the adhesive has cured, remove the clamps and sand the joint between the epoxy and the wood to blend them together.
Step 7: Finish the Table
To protect the table and give it a beautiful finish, apply a wax or polish to the surface. Use a soft cloth to apply the wax or polish in a circular motion, following the grain of the wood. Let the wax or polish dry for a few hours and then buff it with a clean, dry cloth to a high shine.
Quality Control and Final Checks
Before considering the project complete, it's crucial to conduct a thorough quality control check. Inspect the table for any imperfections, such as uneven surfaces, air bubbles, or color inconsistencies. If you find any issues, you can sand and refinish the affected areas as needed.
Check the stability of the table by gently rocking it. Make sure all the joints are secure and the table stands level. If necessary, adjust the legs or add shims to ensure a stable base.
Conclusion
Making a wavy - edged Epoxy Pour Table is a complex but highly rewarding process. It allows you to create a unique and stylish piece of furniture that combines the beauty of wood with the modern look of epoxy. By following these steps and using high - quality materials and tools, you can create a table that will be the centerpiece of any room.
If you're interested in purchasing a pre - made Epoxy Pour Table or have any questions about the process, feel free to reach out for a procurement discussion. Our team is always ready to assist you in finding the perfect table for your needs. Whether you're looking for a Liquid Glass Epoxy Pour Table or a Crystal Stone Table, we have a wide range of options to choose from.
References
- Epoxy Resin Handbook by Epoxy Supply Inc.
- Woodworking for Beginners by Popular Woodworking Magazine.
- DIY Furniture Projects: A Step - by - Step Guide by Craftsy Press.