


Hey there! I'm a supplier of Epoxy Pour Tables, and today I'm stoked to share with you how I make a minimalist Epoxy Pour Table. It's a process that combines artistry and functionality, resulting in a unique piece that can elevate any space. So, let's dive right in!
Getting Started: Materials and Tools
First things first, you'll need to gather your materials and tools. Here's what I typically use:
- Wood: Choose a high-quality, solid wood slab. I like using walnut, maple, or oak for their beautiful grain patterns. Make sure the wood is dry and free of any cracks or defects.
- Epoxy Resin: There are many types of epoxy resin available, but I recommend using a high-quality, self-leveling resin specifically designed for table tops. Look for a resin that has a long working time and a clear finish.
- Pigments: To add color to your epoxy, you'll need some pigments. You can use liquid pigments, mica powders, or even crushed gemstones for a more unique look.
- Sandpaper: You'll need a variety of sandpaper grits, from coarse to fine, to sand the wood and the epoxy surface.
- Clamps: Clamps are essential for holding the wood pieces together while the epoxy cures.
- Measuring Cups and Stir Sticks: Accurate measurements are crucial when working with epoxy resin, so make sure you have some measuring cups and stir sticks on hand.
- Safety Gear: Epoxy resin can be toxic, so it's important to wear safety gear, including gloves, goggles, and a respirator.
Preparing the Wood
Once you have all your materials and tools, it's time to prepare the wood. Here's how I do it:
- Cut the Wood: Use a saw to cut the wood slab to the desired size and shape. Make sure the edges are straight and smooth.
- Sand the Wood: Start by sanding the wood with coarse sandpaper to remove any rough spots or splinters. Then, gradually work your way up to finer grits of sandpaper to smooth the surface.
- Clean the Wood: Use a clean, dry cloth to wipe the wood surface and remove any dust or debris.
- Seal the Wood: To prevent the epoxy from soaking into the wood, you'll need to seal the wood surface. You can use a wood sealer or a thin coat of epoxy resin. Apply the sealer or epoxy with a brush or a roller, and let it dry completely.
Mixing the Epoxy
Now that the wood is prepared, it's time to mix the epoxy. Here's how I do it:
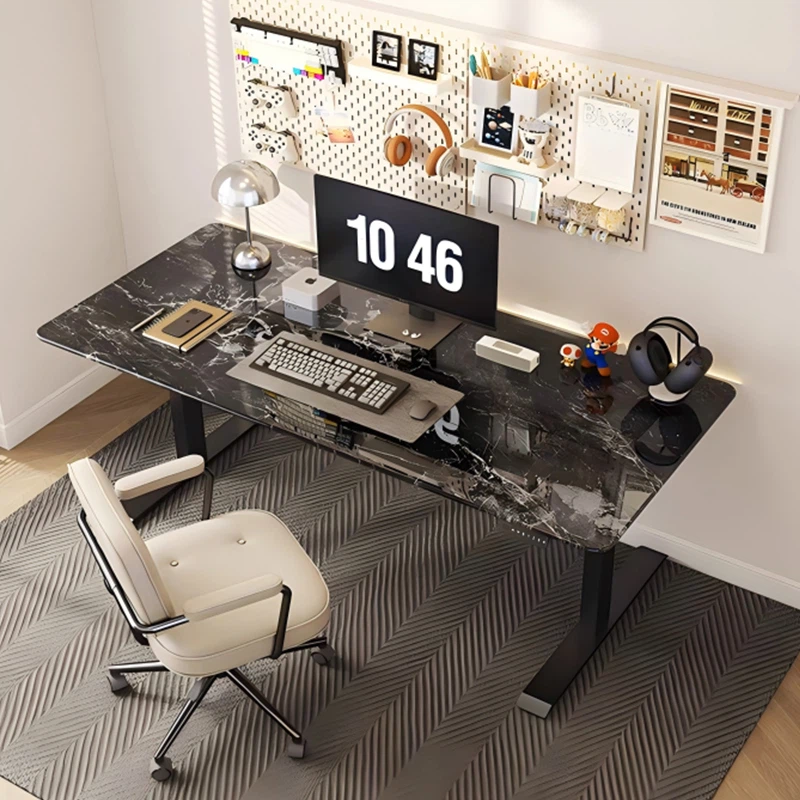

- Measure the Epoxy: Follow the manufacturer's instructions to measure the correct amount of epoxy resin and hardener. Make sure you use separate measuring cups for the resin and the hardener.
- Mix the Epoxy: Pour the resin and the hardener into a clean, dry container, and use a stir stick to mix them together thoroughly. Make sure you scrape the sides and the bottom of the container to ensure that all the resin and hardener are mixed.
- Add Pigments: If you want to add color to your epoxy, now is the time to do it. Add a small amount of pigment to the epoxy mixture, and stir it in until the color is evenly distributed. You can add more pigment if you want a darker color.
- Degas the Epoxy: To remove any air bubbles from the epoxy mixture, you can use a heat gun or a torch to gently heat the surface of the epoxy. Be careful not to overheat the epoxy, as this can cause it to cure too quickly.
Pouring the Epoxy
Once the epoxy is mixed and degassed, it's time to pour it onto the wood. Here's how I do it:
- Position the Wood: Place the wood slab on a flat, level surface, and use clamps to hold it in place.
- Pour the Epoxy: Slowly pour the epoxy mixture onto the center of the wood slab. Use a stir stick to spread the epoxy evenly over the surface of the wood. Make sure you cover the entire surface of the wood with a thin layer of epoxy.
- Remove Air Bubbles: Use a heat gun or a torch to gently heat the surface of the epoxy to remove any air bubbles. Be careful not to overheat the epoxy, as this can cause it to cure too quickly.
- Let the Epoxy Cure: Let the epoxy cure for the recommended amount of time, usually 24 to 48 hours. Make sure the area is well-ventilated and the temperature is between 70°F and 80°F.
Sanding and Finishing the Table
Once the epoxy has cured, it's time to sand and finish the table. Here's how I do it:
- Sand the Epoxy: Start by sanding the epoxy surface with coarse sandpaper to remove any rough spots or drips. Then, gradually work your way up to finer grits of sandpaper to smooth the surface.
- Clean the Table: Use a clean, dry cloth to wipe the table surface and remove any dust or debris.
- Apply a Finish: To protect the epoxy surface and give it a beautiful shine, you can apply a finish. You can use a clear coat of epoxy resin, a polyurethane finish, or a wax finish. Apply the finish with a brush or a roller, and let it dry completely.
- Buff the Table: Once the finish has dried, you can buff the table surface with a soft cloth to give it a smooth, shiny finish.
Conclusion
And there you have it! That's how I make a minimalist Epoxy Pour Table. It's a process that takes time and patience, but the end result is a beautiful, one-of-a-kind piece that can add a touch of elegance to any space.
If you're interested in purchasing an Epoxy Pour Table or have any questions about the process, please don't hesitate to [contact me for a purchase discussion]. I'd be happy to help you find the perfect table for your home or office.
References
- Epoxy Resin Handbook
- Woodworking for Beginners
- DIY Furniture Projects
Check out some of our other amazing tables: Crystal Stone Table, Modern Stylish Solid Wood Round Dining Table, and Luxury Stone Table.